As an Amazon Associate, we earn from qualifying purchases. Some links on this site are affiliate links at no extra cost to you. Our recommendations are based on thorough research and editorial judgment.

External Storage on Macos: Formats, Indexing, Tips
When using external storage on macOS, we need to take into account the disk formats available. The main ones include APFS for SSDs, Mac OS Extended for HDDs, and FAT32 for cross-compatibility. Each format has specific strengths depending on our needs. Additionally, managing Spotlight indexing is vital to optimize performance, especially with frequent file transfers. Regular backups and drive health checks are essential practices we should adopt to maintain data integrity. There’s more to explore about effective storage management.
Key Takeaways
- Choose APFS for SSDs and Mac OS Extended for traditional hard drives to optimize performance and compatibility on macOS.
- Manage Spotlight indexing settings to improve search efficiency and minimize unnecessary reindexing with frequent file changes.
- Regularly back up data using Time Machine or manual methods to prevent data loss and ensure file integrity.
- Maintain proper file organization and perform routine storage health checks to enhance external storage performance.
- Consider transfer speed optimizations and select the appropriate format based on your specific usage needs for effective external storage management.
What Is a Disk Format on Mac?
You may be interested


When we talk about disk formats on Mac, we’re referring to how data is organized and structured on storage devices. This organization affects how files are saved, retrieved, and managed. Two prominent formats we encounter on macOS are APFS and Mac OS Extended (Journaled).
- APFS: Designed for solid-state drives, this format offers features like space sharing and strong encryption, making it ideal for modern storage.
- Mac OS Extended (Journaled): Best for traditional hard drives, it’s reliable and widely compatible.
To format a drive, we can use Disk Utility. This tool allows us to choose the disk format, name the device, and erase existing data, ensuring our external drives work seamlessly with macOS. Understanding these formats is essential for peak performance. Many users also rely on a stable wired connection using Gigabit Ethernet when transferring large amounts of data to external drives.
What Disk Formats Are Compatible With Macos?

Understanding the compatibility of disk formats with macOS is vital for maximizing our storage devices’ effectiveness. Here are the main options we can choose from:
- APFS: The preferred drive format for SSDs, offering features like encryption and snapshots.
- Mac OS Extended (Journaled): Also known as HFS+, this format works well, especially for external drives formatted before APFS was introduced. It allows case-sensitive and encrypted options.
- FAT & NTFS: While macOS can read and write to these formats, they’re not recommended for primary use due to compatibility issues.
When considering a format for a Mac, it’s important to think about our specific needs, especially if we intend to use Time Machine for backing up our data. Professional workflows may benefit from high-speed interfaces like USB 3.2 Gen2 for faster transfers when using external enclosures.
Recommended Products

【Upgraded version】 - The mirror logo strip is combined with the striped non-slip design. The rounded corners of the shell are more suitable for holding. The strips play a heat dissipation function to ensure a stable and fast transmission process.
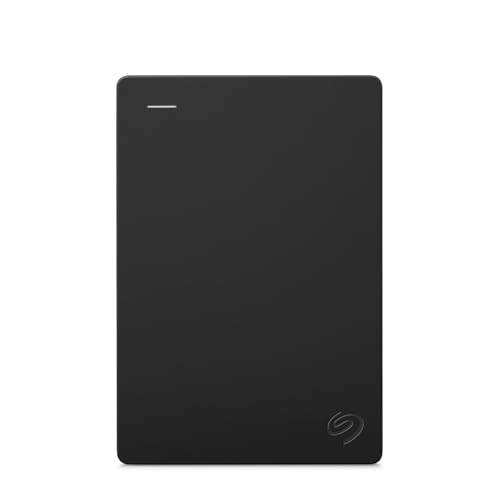
Easily store and access 2TB to content on the go with the Seagate Portable Drive, a USB external hard drive

【Versatile Storage Expansion – For Gaming, Work & Everyday Use】 Running out of space on your PS5 or Xbox Series X/S? This external hard drive lets you store and play PS4 / Xbox One games directly, instantly freeing up your console’s internal storage for next‑gen titles. At the same time, it handles work file backups, media libraries, and cross‑device data transfers with ease. One drive, all your needs. *(Note: PS5 / Xbox Series X|S games cannot be run or stored directly from the external hard drive. However, by offloading your PS4 / Xbox One games, you can free up valuable space for newer titles.)*
Key Features of APFS

APFS, or Apple File System, offers several key features that make it stand out, especially for users with solid-state drives (SSDs).
- Snapshots: This feature allows us to create backup points of our data without consuming extra storage space.
- Encryption: APFS includes strong, built-in encryption methods, ensuring our data remains secure while simplifying volume management.
- Storage Efficiency: The file system dynamically allocates space, enabling containers to grow or shrink as needed, optimizing our storage use.
- Metadata Operations: APFS supports faster directory sizing and metadata operations, improving file access times, which enhances system responsiveness.
APFS also benefits from improved compatibility with modern macOS features and mobile workflows, including better support for USB-C connected external drives.
When to Use Each Format

- APFS: Best for SSDs and newer macOS versions. It enhances performance with features like snapshots and quick indexing.
- HFS+: Go with this format for external disks used with older macOS versions, particularly those before Sierra.
- FAT32: Useful for drives needing cross-compatibility with Windows, though it has a 4GB file size limit.
- NTFS: Primarily for Windows compatibility. It’s read-only on macOS without third-party software, making it less suitable for regular use.
High-quality rugged power banks often meet MIL-STD durability standards, which can be a useful consideration when choosing accessories for fieldwork.
Recommended Products

IF DESIGN GOLD AWARD WINNER - Our NESTOUT Outdoor Series won the prestigious IF Design Gold Award, given to the products that exemplifies innovation, coherent design, and keen attention to detail. Inspired by nostalgic outdoor products, the battery packs mimic the form of a vintage fuel bottle to signpost the move from fossil to clean renewable energy.

Dust/Water Resistant Charging Brick: Our portable power bank is rated IP67 for dust and water resistance when port cover is securely closed

IF DESIGN GOLD AWARD WINNER - Our NESTOUT Outdoor Series won the prestigious IF Design Gold Award, given to the products that exemplifies innovation, coherent design, and keen attention to detail. Inspired by nostalgic outdoor products, the battery packs mimic the form of a vintage fuel bottle to signpost the move from fossil to clean renewable energy.
Which Drive Format Is the Best?

When considering the best drive format for your macOS external drives, it’s important to weigh your options carefully. We recommend using APFS (Apple File System) for its optimization on solid-state drives. APFS offers features like snapshots and strong encryption, enhancing performance and space management.
However, HFS+ (Mac OS Extended) remains a solid choice for older systems. Here’s a quick overview to help you choose:
- APFS: Best for SSDs; advanced features.
- HFS+: Ideal for legacy systems.
- exFAT or FAT32: Compatible with both macOS and Windows but lacks advanced functionalities.
Using Disk Utility, you can easily format your external drives according to your needs, ensuring effective indexing and compatibility with your devices. Many modern USB-C hubs support high-speed data transfer (up to 10Gbps) which can improve external drive performance when connected via compatible ports, especially on SSDs with USB-C 10Gbps connections.
Recommended Products
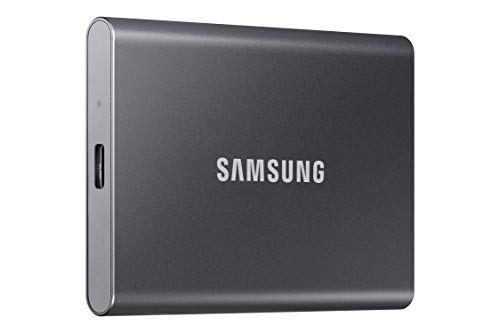
MADE FOR THE MAKERS: Create; Explore; Store; The T7 Portable SSD delivers fast speeds and durable features to back up any endeavor; Build your video editing empire, file your photographs or back up your blogs all in an instant

Capacity Reminder: Display capacity of 250GB SSD often appears as around 232GB on Windows. MacOS typically shows full 250GB. This display capacity reduction of 7% to 10% from SSD actual capacity is from algorithms differences in which 1GB is interpreted as 1024MB on Windows and 1000MB on SSDs
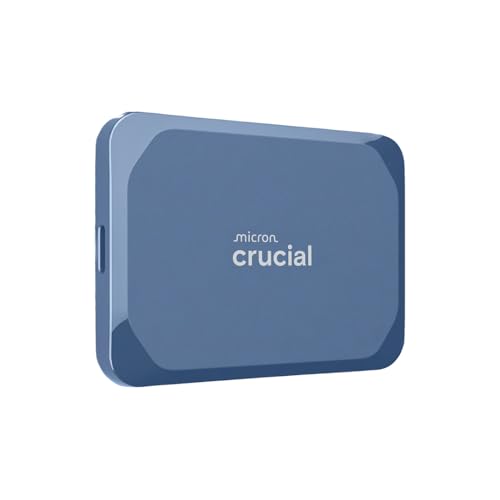
Ultra-fast Speeds: Designed for creators, students and PC gamers, this matte blue external SSD delivers fast data access with up to 2,100MB/s read speeds. Unlike a hard drive, SSDs offer significantly faster performance
How to Back up Your External Hard Drive
Backing up our external hard drive is essential, especially since we rely on them for storing important files. Here’s how we can do it effectively:
- Use Time Machine: Connect your external hard drive, select it as a backup disk in Time Machine preferences, and enjoy automatic incremental backups.
- Manual Backups: We can also manually copy important files by dragging them from the external hard drive to another device or our Mac’s internal drive.
- Bootable Clones: Consider using software like Carbon Copy Cloner or SuperDuper! to create bootable clones, which guarantee complete data integrity in case of data loss.
- Check Drive Health: Regularly use Disk Utility’s First Aid to identify and fix issues before they result in data loss.
Remember to unmount files properly before disconnecting to safeguard our backups!
Also consider choosing a drive with high-capacity options to minimize frequent file management and accommodate large backups.
How to Format a Disk on Mac
Formatting an external disk on a Mac is a straightforward process that can help us set up our drives for ideal use. Here’s how to do it:
- Connect the external drive: Plug in your drive and launch Disk Utility from Applications > Utilities.
- Select the Disk: In Disk Utility, choose your external drive from the list.
- Erase and Format: Click the “Erase” button. We can choose between formats like APFS or Mac OS Extended (Journaled), depending on our needs.
- Name and Confirm: After naming the disk, confirm to erase existing data and complete formatting.
- Eject Safely: Remember to safely eject the drive afterward to prevent data corruption and maintain drive integrity.
Green lasers offer superior visibility in well-lit or large spaces, which is why many presenters prefer them for long-range performance.
Recommended Products
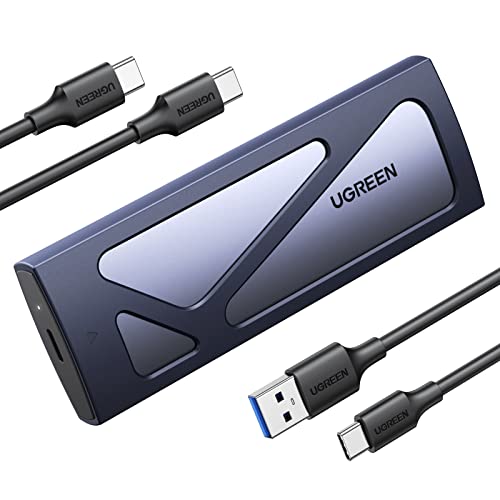
10Gbps NVMe Enclosure: With the latest USB 3.2 Gen2, this M.2 enclosure can achieve a data transfer rate of 10Gbps. Backward compatible with USB 3.1 and USB 3.0. Note: 10G speeds need to be matched with a USB C 3.2 GEN2 data cable

Tool free design, easy to install,Transfer Rates Up to 480 Mbps when connected to a USB 2.0 port,Transfer Rates Up to 5 Gbps when connected to a USB 3.0 port.
SATA-Only Compatibility: Fits 2.5" and 3.5" SATA HDDs and SSDs. NOT compatible with SAS, M.2 NVMe, M.2 SATA, NVMe PCIe, or IDE/PATA drives. Note: some 4TB+ 3.5" drives with non-standard PCB height may not seat correctly — verify your drive's physical dimensions before purchasing.
Prevent Spotlight From Indexing External Drive
Preventing Spotlight from indexing your external drive can enhance our workflow and keep our search results relevant. Here’s how we can do it:
- Add to Privacy Tab: Open System Preferences, select Spotlight, then navigate to the Privacy tab. Add your external drive here to prevent it from indexing.
- Re-enable Indexing: If we need to allow Spotlight indexing again, simply remove the drive from the Privacy tab after disconnecting and reconnecting it.
- Permanent Prevention: For a more long-term solution, consider creating a file named `.metadata_never_index` on the external drive to prevent future indexing.
- Manage Indexing Issues: Use the Terminal command `sudo mdutil -E /Volumes/YourDriveName` to force a re-index when necessary.
Let’s maintain our search efficiency! Fast external drives with high transfer speeds may affect how often you want Spotlight to index large volumes of new files.
Recommended Products

Design for 5.25" Blu-Ray/CD/DVD drive; Fit any Depth Optical Drive (fit any drive depth upto 185mm); TAA compliant; Plug and Ready; No drivers needed, Comes with 12V, 3A AC adapter to power any optical drive
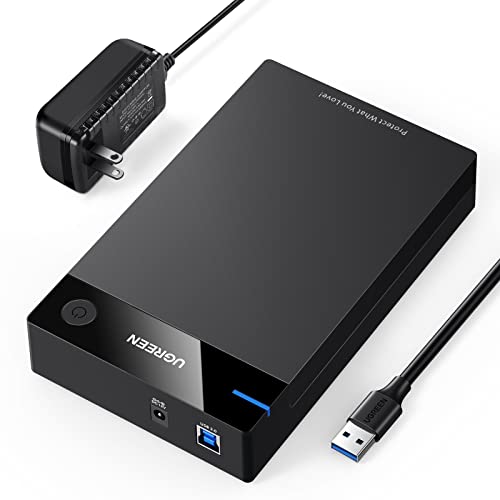
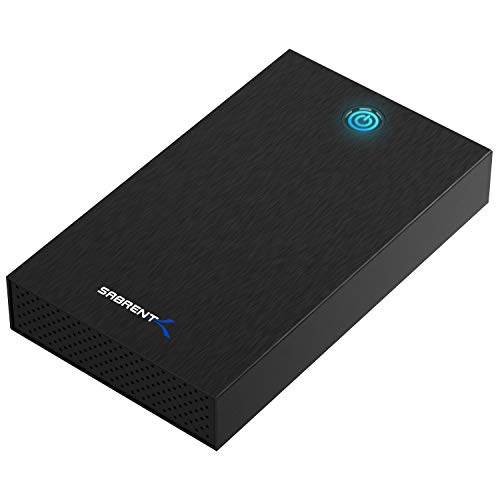
External Hard Drive Enclosure: This 3.5" hard drive enclosure easily connects your 3.5 /2.5 inch hard drive to a PC, laptop, and other devices for massive data transfers and support HDD up to 20TB

5Gbps Transfers with Accelerated UASP: Get up to 5Gbps transfer speeds with USB 3.0 port. The SATA interface supports the UASP accelerated transmission protocol, which is 70% faster than the standalone USB 3.0. Need to connect to a UASP-supported computer
Frequently Asked Questions
How to Index an External Hard Drive on a Mac?
To index an external hard drive, we should enable Spotlight indexing, guarantee proper formatting, and manage external drive organization. Regular maintenance and troubleshooting help improve data retrieval efficiency and enhance our overall indexing experience.
What Is the Best Format Option for an External Hard Drive on a Mac?
For our external hard drive on a Mac, the best file system’s APFS. It offers excellent performance, format compatibility, advanced security features, and efficient data recovery options, making it ideal for backup strategies and secure storage.
How to Stop Mac From Indexing External Drive?
To stop our Mac from indexing a USB drive, we can use System Preferences to add the drive to Privacy settings. This improves performance issues and aids in better storage management through effective indexing options.
What Format Should My External Hard Drive Be for a Mac Time Machine?
We’d think any format would work for Time Machine compatibility, but really, APFS or Mac OS Extended are a must. Consider partitioning, encryption, and backup space needs for an efficient solution that meets our requirements.